Celestron NexStar Telescope
You bought a Celestron 8SE or 6SE. Now it’s time to take it out into the field for the first time and figure out how it works, but be warned, there’s a lot of things to learn about it that took me about a year to figure out. I wrote this to help others with the same scope get on their feet a little faster.
It’s worth reading the manual, but sadly it’s not enough. There’s a lot of weird stuff about the Celestron NexStar scopes that’s not covered. Fortunately there’s an entire website dedicated to the topic at NexStar Site.
Now let’s learn about some of my struggles figuring out this telescope.
Don’t count on the built-in AA batteries
This is the biggest head scratcher: the 8 AA batteries that you put in scope will work for a few hours, but as they start to lose power the guidance computer will start behaving unpredictability and throw off your guidance without warning. I don’t know why they keypad doesn’t warn you or simply power off when this happens, but it doesn’t.
To mitigate, you’ll want to either plug the scope into a wall outlet via a really long extension cord or purchase an external battery to connect to the scope if that’s not an option.
SkyAlign doesn’t work that well
SkyAlign is suppose to work by finding three bright stars, centering each in your eye piece, and the computer works out which stars they are via trigonometry. The problem is, it doesn’t work that well.
Instead get an app like SkySafari on your phone, find two bright prominent stars, then align your scope via “Two Star” alignment and you should be good to go. It’s a lot more button pressing for the initial alignment, but at least it will align.
NextStar Site has done a great job documenting all of the alignment issues you’ll run into. It takes a lot of practice.
When you align, make sure the last movements are always up and to the right
When you do figure out how to align the scope, you’ll be surprised at how “loose” the seemingly precise mechanics are of the telescopes gear drive. During alignment when you center the scope, make sure the last movements before centering the object in the eye piece are up and to the right. This movement makes sure there’s minimal slack in the gears that could throw off alignment. If you go the other way, the alignment will be less precise.
Double check that “up and to the right” is from the keypad controls, not as it appears in the eye piece, which can be reversed depending on what optics you’re using to observe.
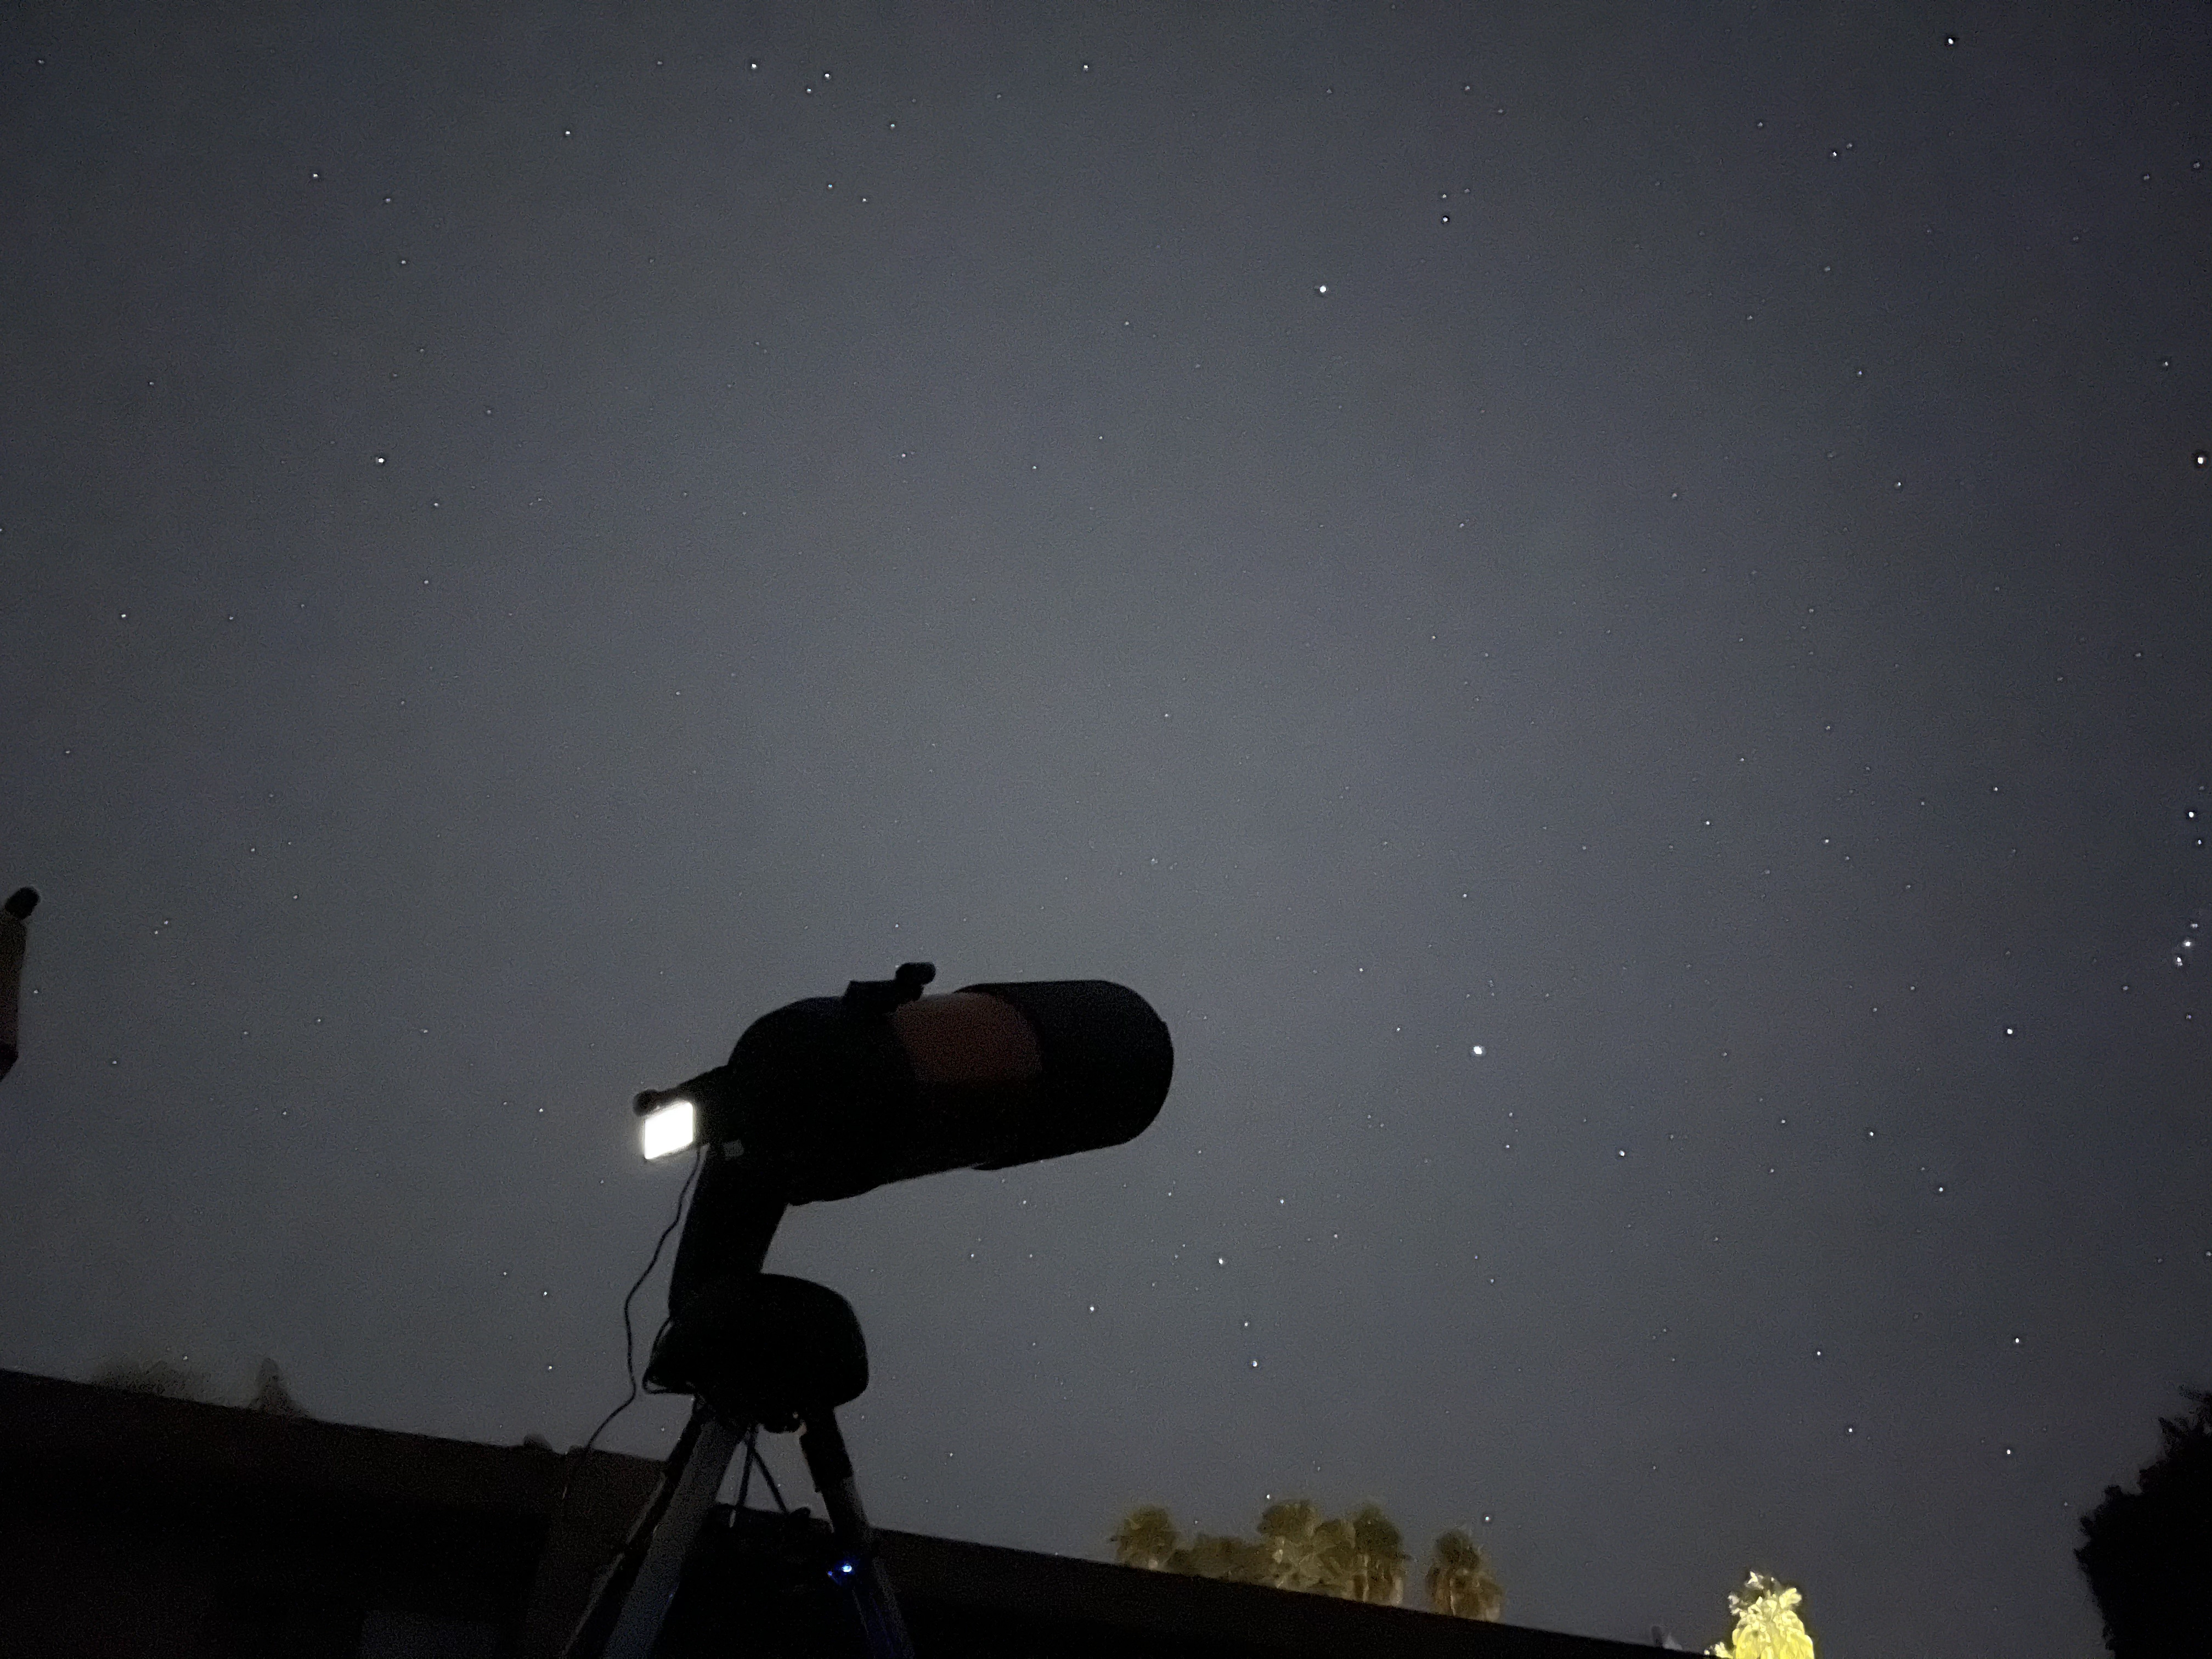
Spend a few nights getting to know your scope in the backyard
The first few times I took my scope out I was in a really remote area of Big Sur that didn’t have cellular connectivity or power. I learned the hard way that the AA batteries weren’t enough to power the scope.
I also thought I could align the finder scope pretty easily on a moonless night, but that proved really difficult since there’s no easy points of reference to line up the scope: just thousands stars, which is surprisingly hard to use for aligning the finder scope. I lost a night observing and had to use trees along a horizon to setup the finder scope the next morning. If you’re in a less remote area, you might be able to point the scope at a prominent building to calibrate.
Be patient
Finally, I found myself getting frustrated a few of the nights and just called it a night and went to bed. That’s totally OK, make sure you cut yourself some slack like that and don’t try to figure it all in one night.
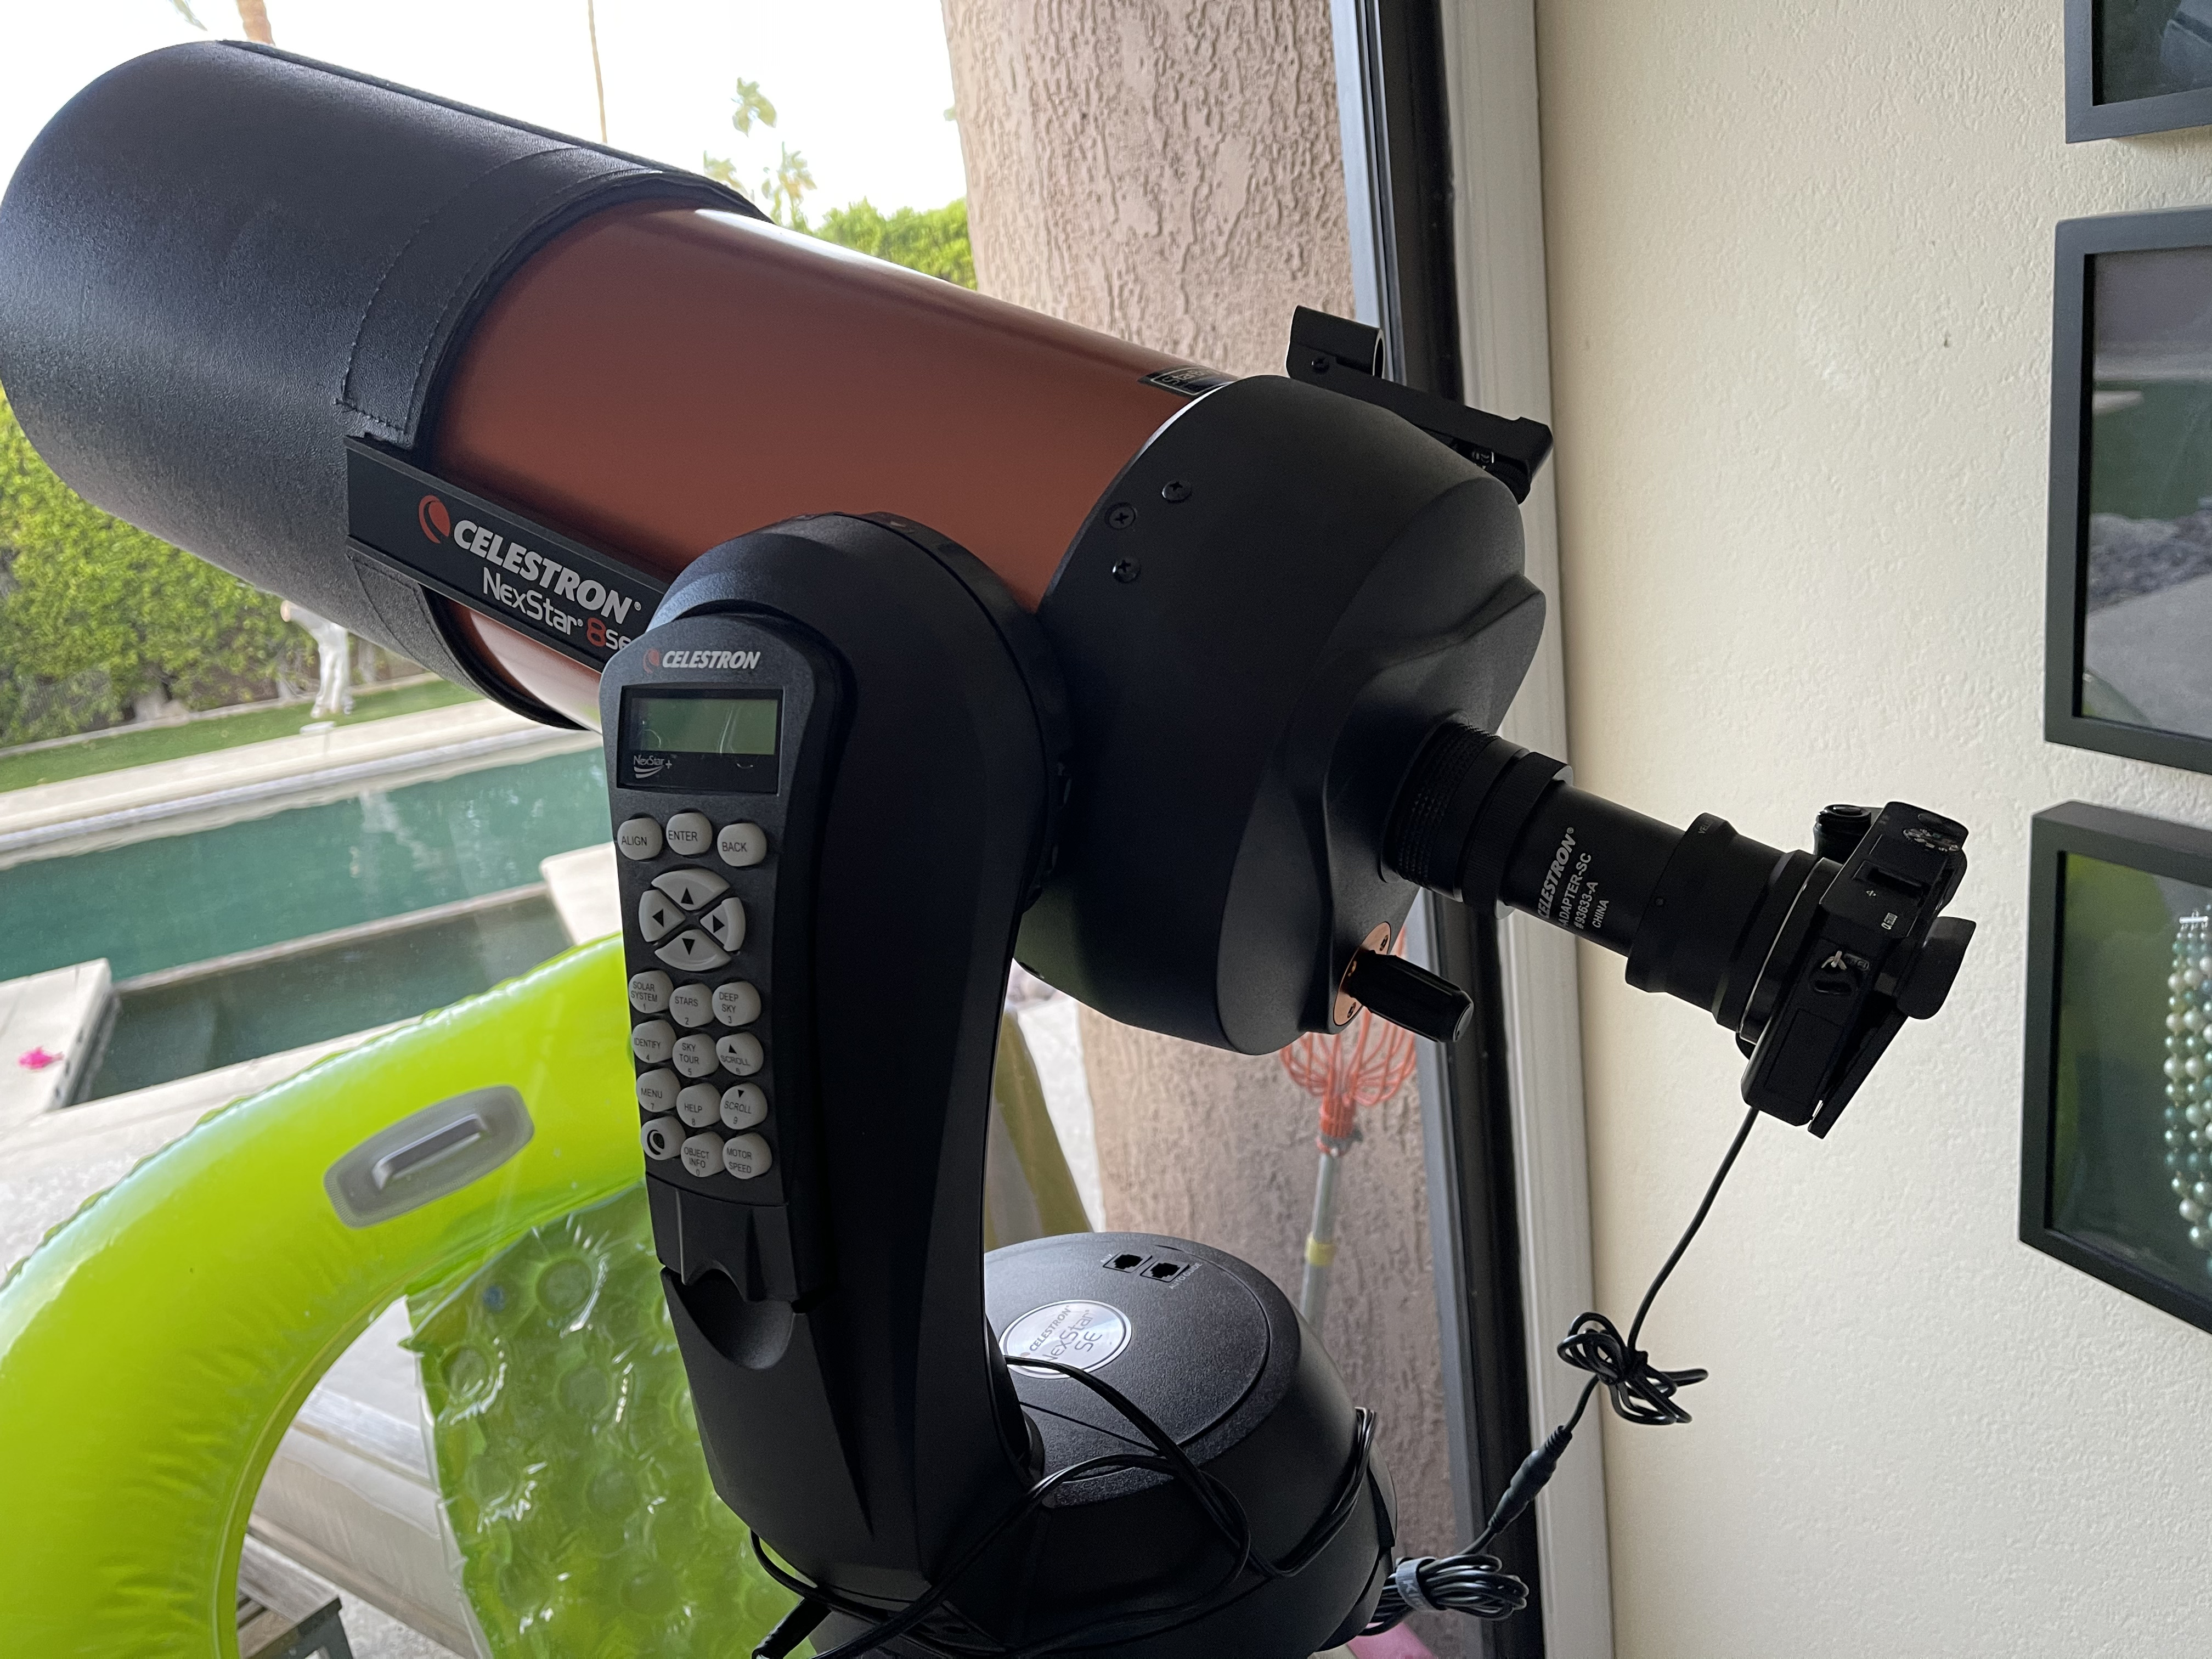
I ended up figuring all this stuff out in the backyard of a rental house in Palm Desert, California. I had dark enough skies to practice aligning stars and easy access to power and internet to figure out what was going on and learn how to fix it.
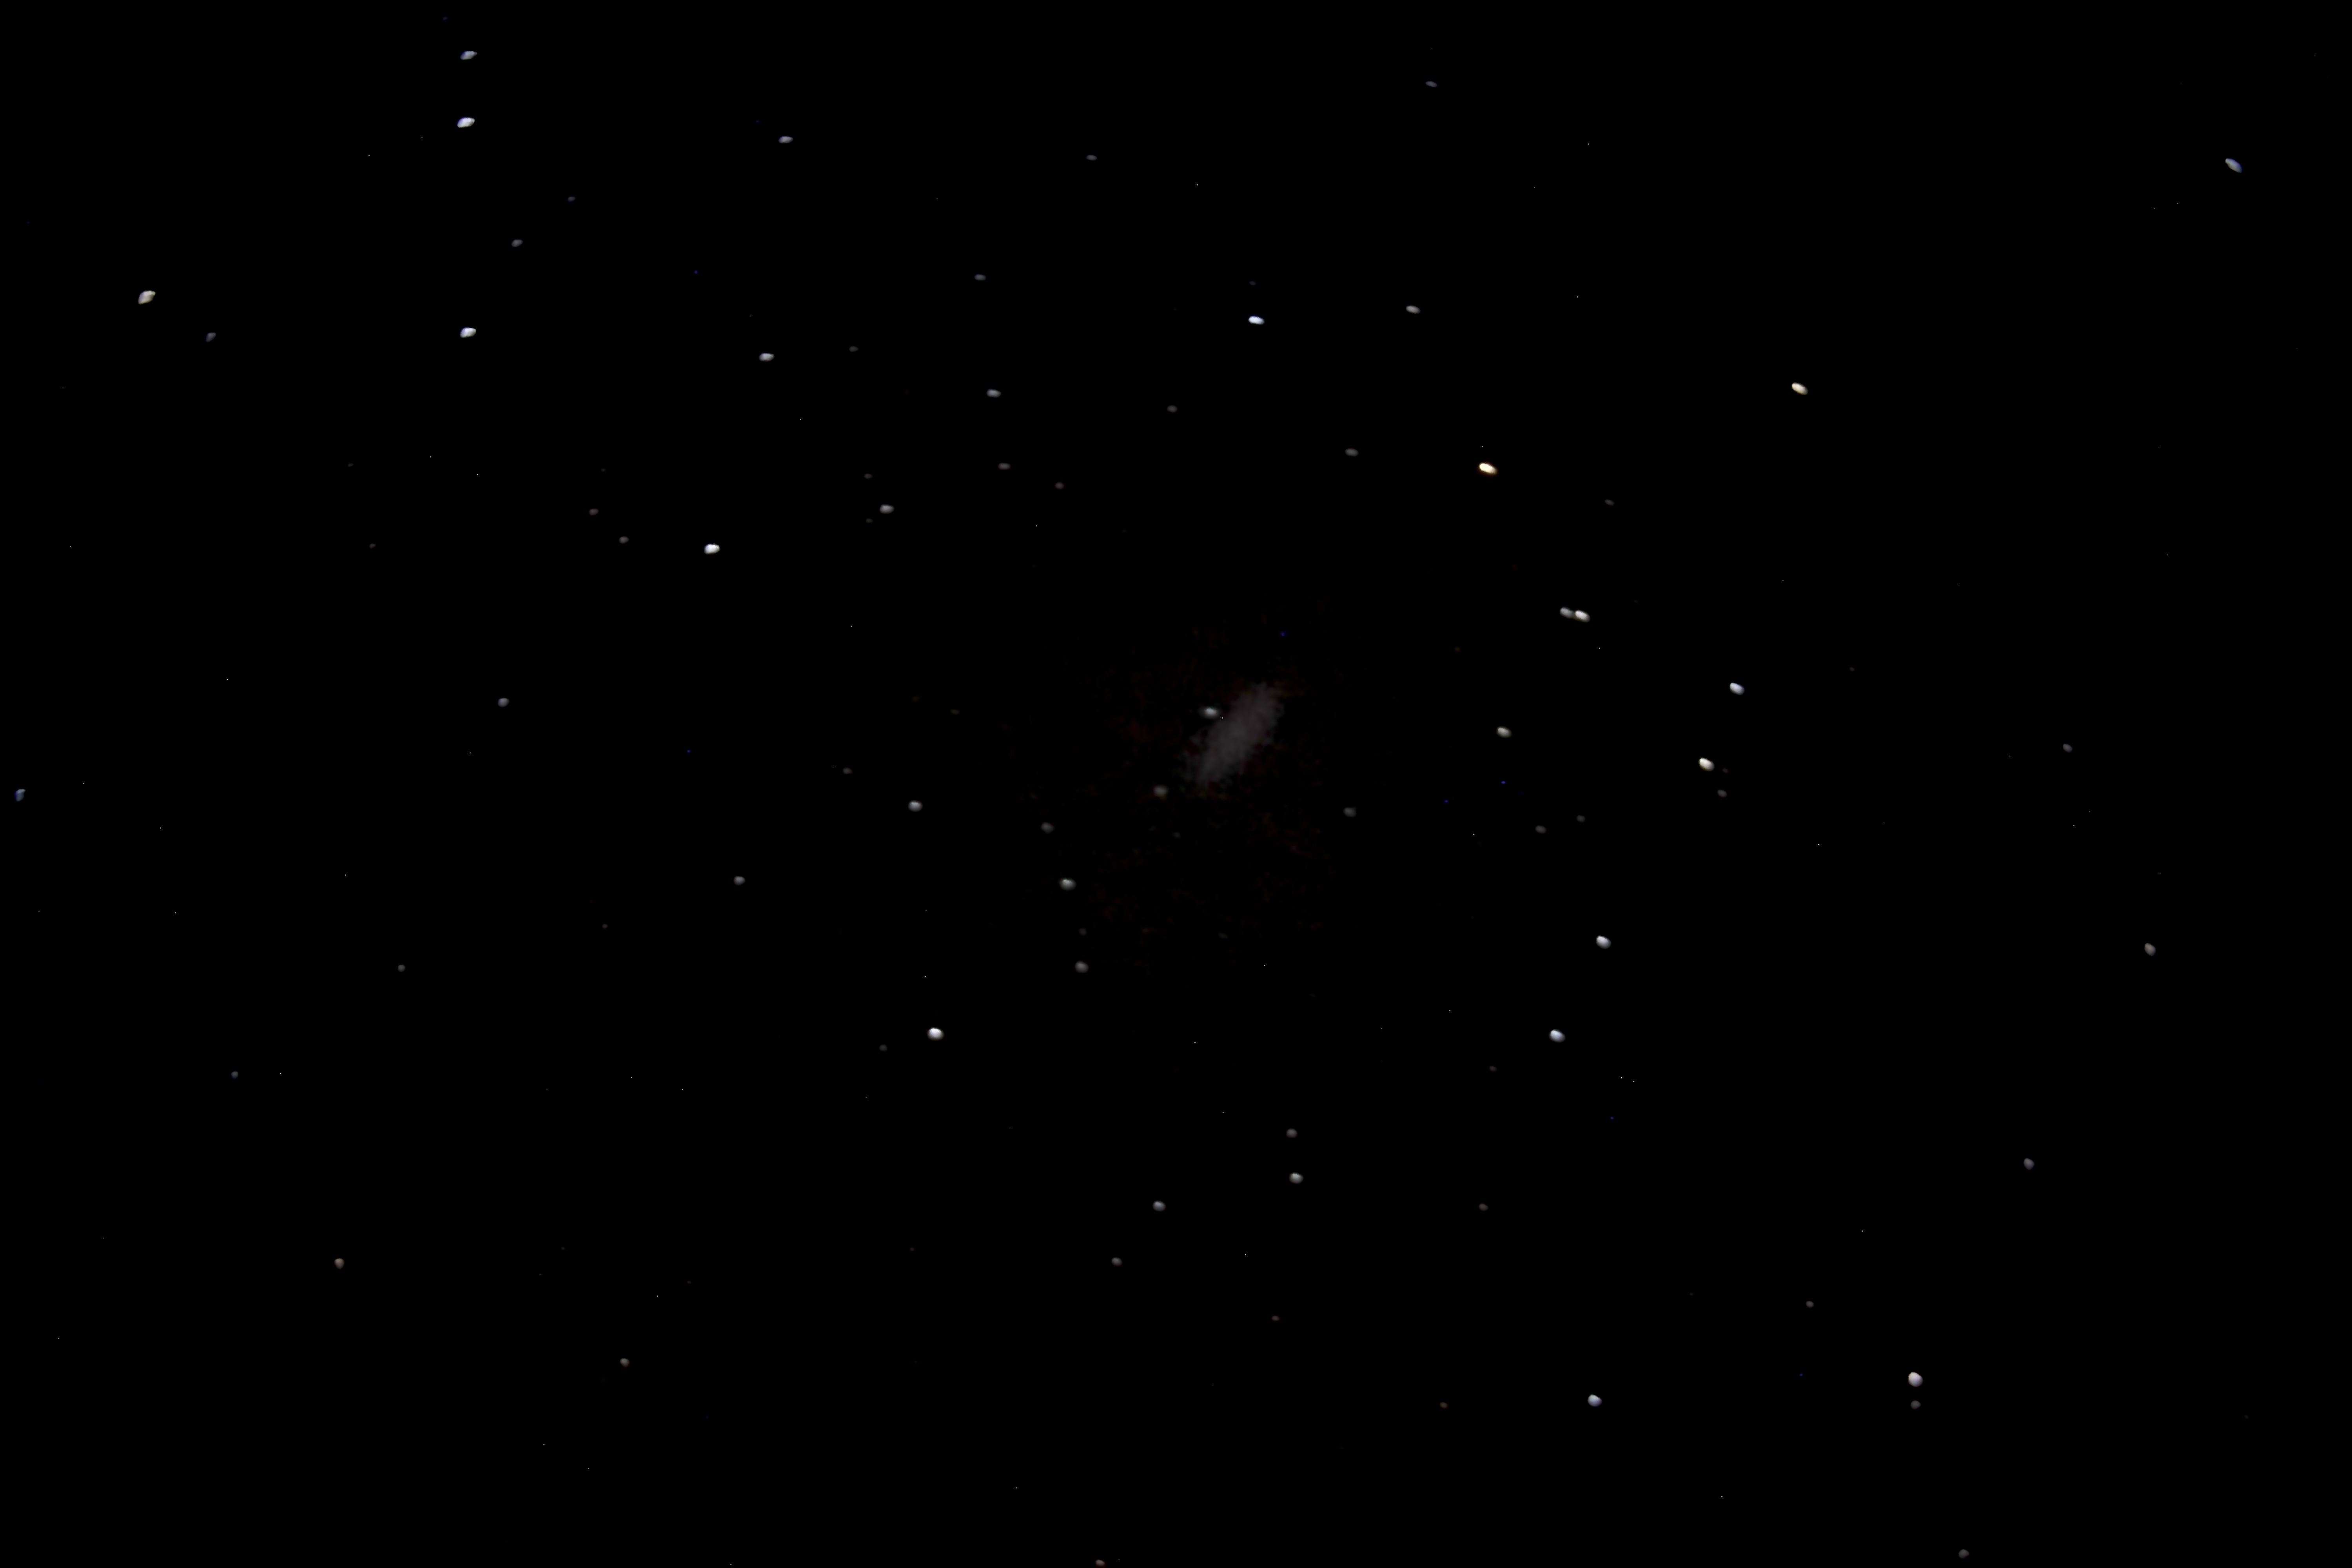
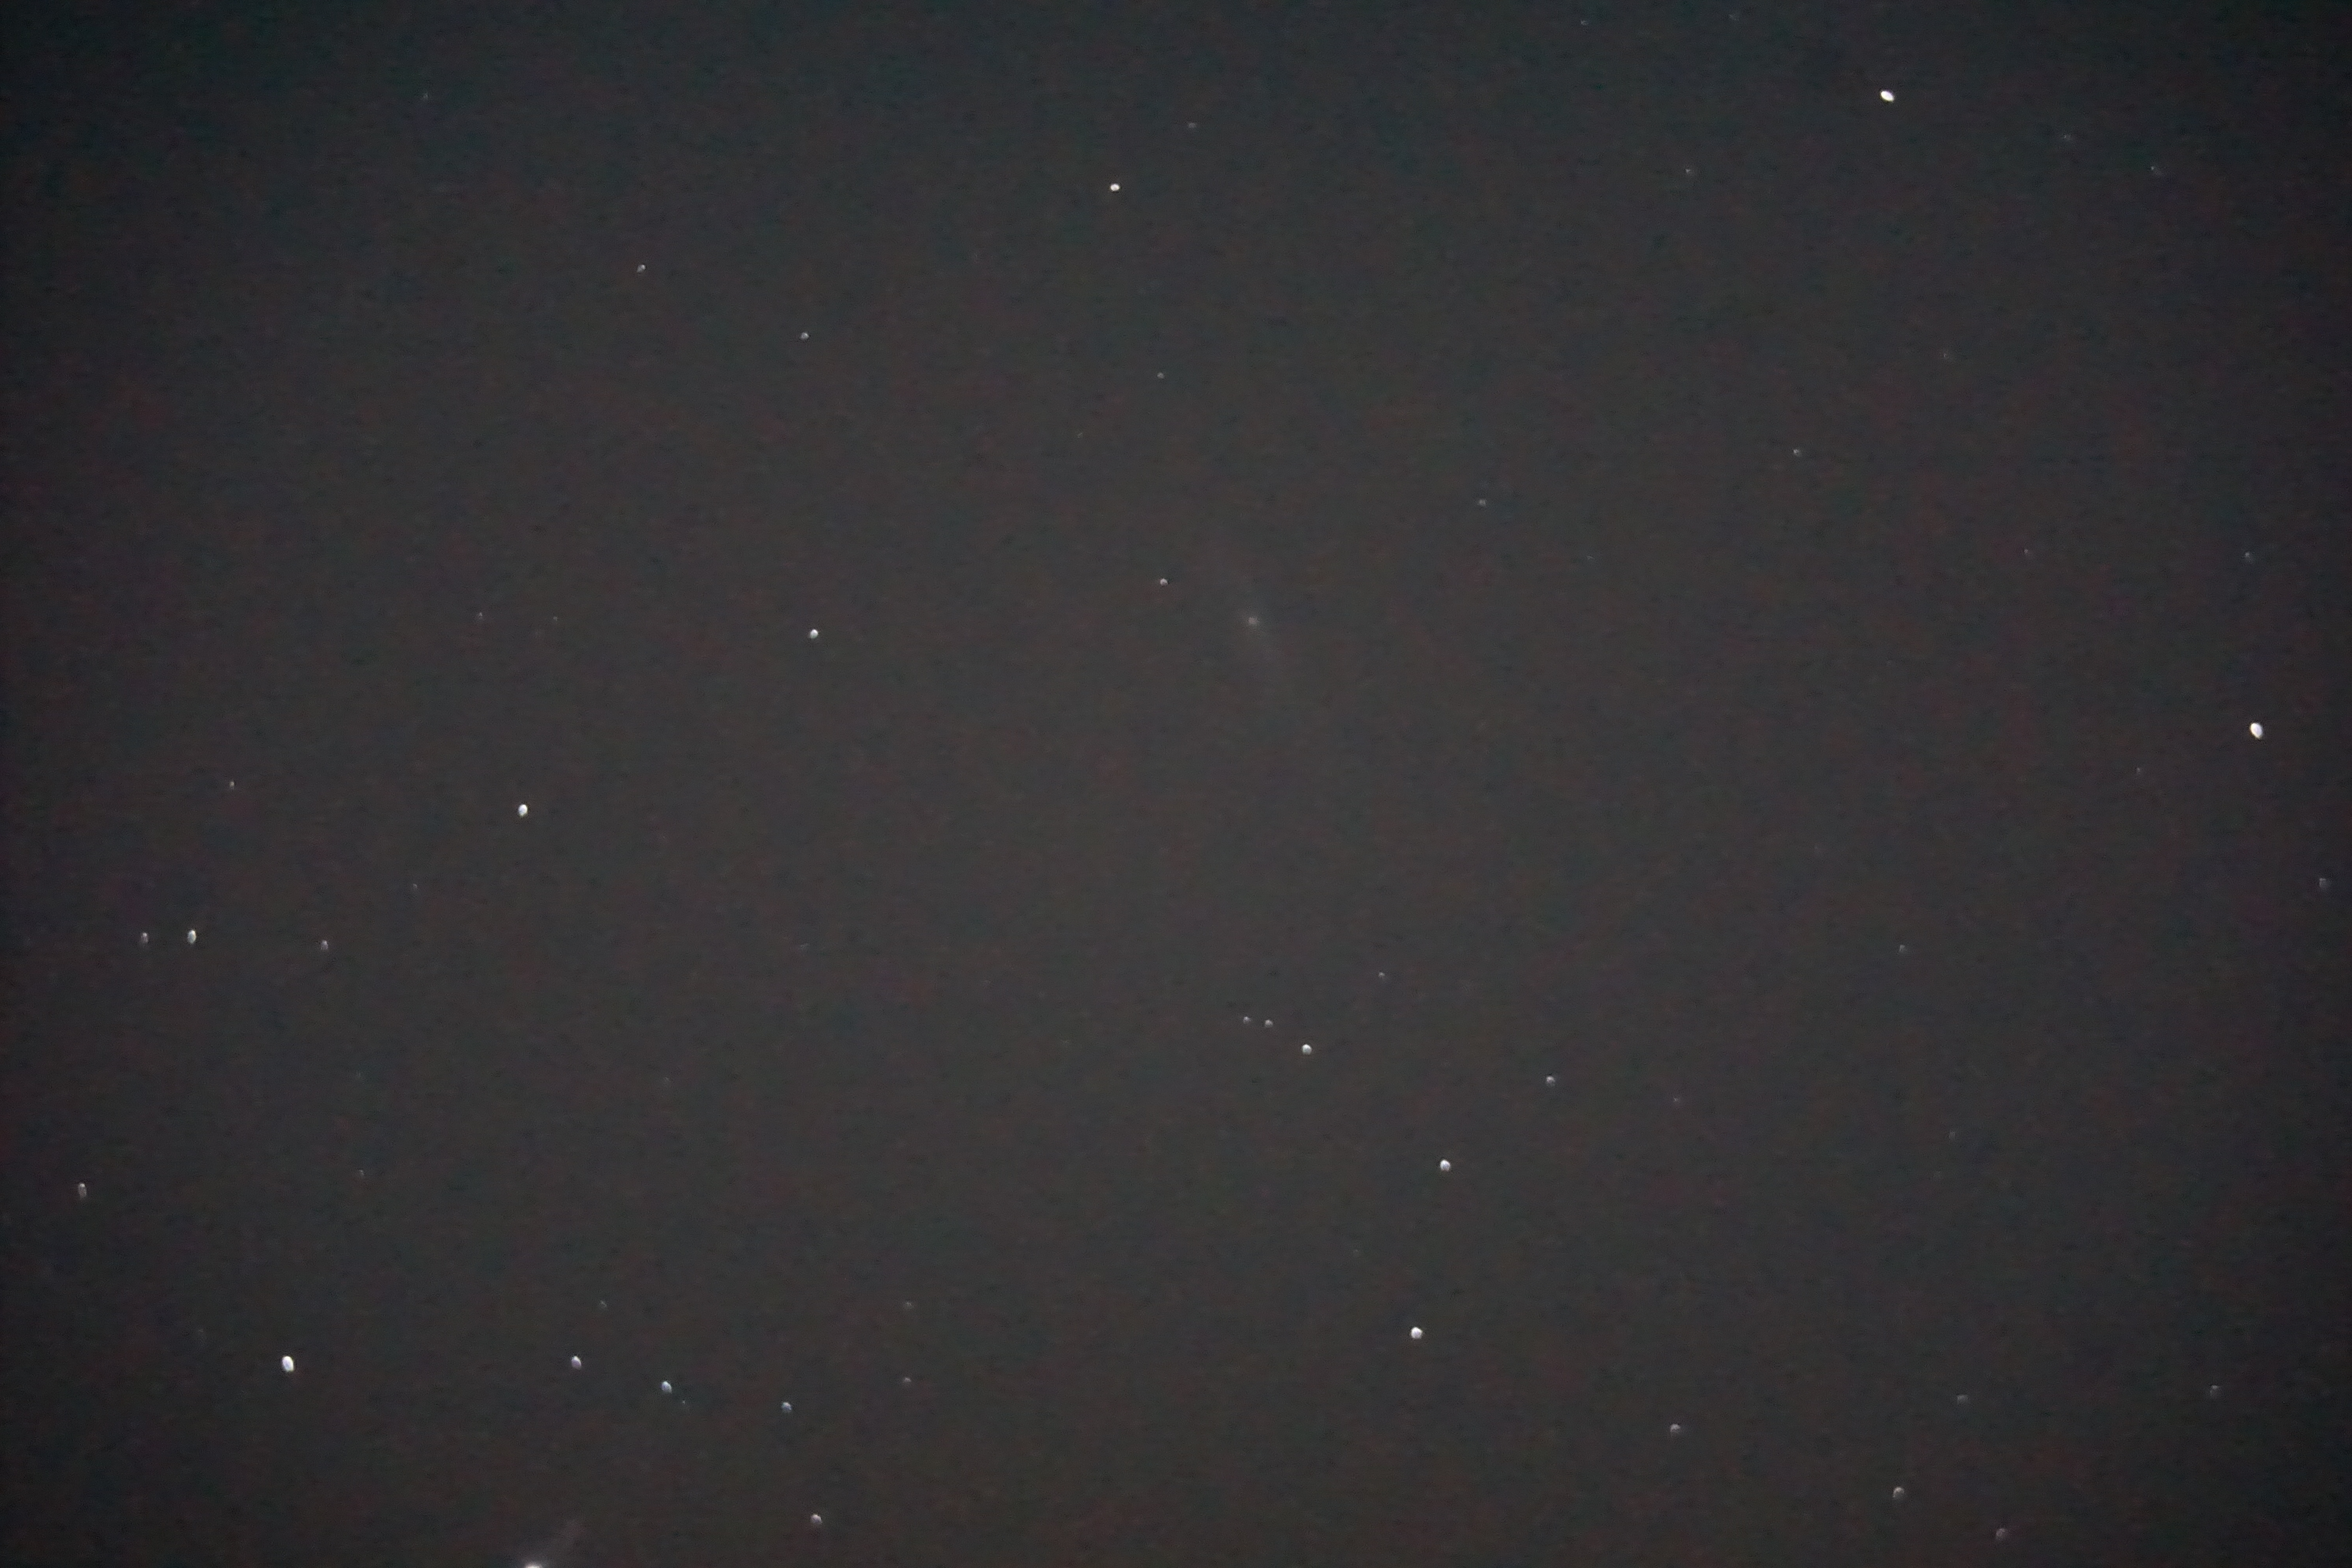
After all that, despite the medium levels of light pollution, I was finally able to capture my first deep space object photos.
Here’s the Orion Nebula:

And a few smudges of light that are galaxies:
There’s still lots of room for improvement, including stacking the photos, observing from a less light polluted area, better tracking, and using a better camera. That’s all part of the fun of owning a telescope, right?